


 English
 Español
 русский
 Deutsch
 عربى
عربى
How to Ventilate a Camping Tent: A Practical Guide for Buyers and Campers
Content
Two in the morning. The tent walls are beaded with moisture, the sleeping bag feels damp, and the air inside is stale. This is a familiar scenario for campers who do not manage airflow well. The fix is not a more expensive tent; it is a better understanding of how to move air through the space. In this guide, we will walk through ventilation principles, site selection, opening management, and the product features that make a tent easier to keep dry and comfortable.
Why Ventilation Matters: Condensation, Comfort, and Safety
Human bodies release moisture and carbon dioxide. A single sleeper can produce about 500–800 ml of water vapor overnight through breathing and skin evaporation. If that moisture stays inside a mostly sealed tent, it condenses on the cooler inner walls and ceiling. Ventilation does more than make the air fresh; it creates a path for humid air to exit and for dry outside air to enter. For campers in cold conditions, poor ventilation also increases condensation on sleeping bags and lowers insulation performance. In extreme situations, high humidity can threaten a synthetic sleeping bag’s loft, making the night colder than expected. So the first conclusion is clear: ventilation is a core comfort and safety factor, not a luxury.
Choose the Right Pitch and Site First
Before you even open the tent, think about where you are placing it. In summer, pitch on the highest well-drained spot your campsite allows, because air tends to be cooler and moving at higher elevations. Set up under trees if you can, but not directly under a dead branch. Trees provide shade during the hottest part of the day, which reduces the temperature difference between inside and outside and limits condensation. In cold weather, a sheltered site away from the wind may be tempting, but you still need cross-ventilation. The goal is a location that receives a steady breeze without exposing the tent to extreme gusty wind that could stress the poles.
At night, the temperature difference between the outside and inside of the tent often reaches its peak. That is when condensation is most likely to form. If the tent is pitched in a low spot where cold air settles, the outer fabric will cool faster and draw more moisture out of the inside air. A few meters of elevation can make a noticeable difference. In fixed camps, rotate the tent if the wind direction changes so that the top vent always has a chance to catch some airflow.
Manage Every Opening: Vents, Doors, Windows
Most camping tents are designed with a sequence of openings: a top vent, side windows, mesh panels, and at least one door. The trick is to use them together. Start by opening the top vent fully. Because warm and humid air rises, the top vent acts as an exhaust. Then open a lower inlet, usually the lower half of the door or a side ground vent, to bring in fresh cool air. This creates a stack ventilation effect. If you leave only the top vent closed, moisture will collect in the upper zones of the tent. If you leave only the door open but the top vent closed, the airflow remains weak and pocketed.
One common mistake is closing every opening as soon as rain starts. In light rain, keeping the top vent partially open with the rain fly still in place usually does not cause water entry if the vent is designed correctly. Another mistake is pitching the tent with the top vent on the leeward side. The wind will move over the tent instead of through it. Instead, rotate the tent so the vent faces the wind direction, and use the door as the exhaust.
| Weather Condition | Recommended Vent Setup | Purpose |
|---|---|---|
| Warm and humid | Open top vent, both doors, and side windows | Maximum cross-flow and stack effect |
| Cold and humid | Open top vent and lower door zipper | Avoid excessive cooling while exhausting moisture |
| Rainy but windy | Partially unzip the top vent, keep doors closed except for a small lower gap | Keep rain out while still allowing air exchange |
| Hot and dry | Open all vents and pitch in the shade | Reduce internal heat buildup |
Use an Extra Layer: Canopy, Tarp, and Awning
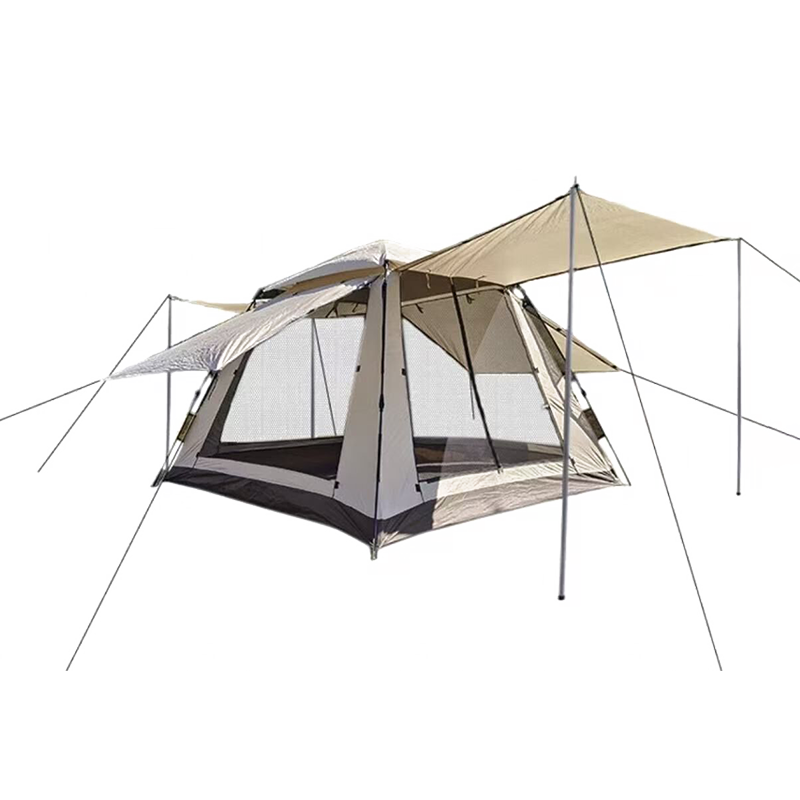
An external shade structure works like a second roof. It blocks direct sunlight from striking the tent fabric, reducing the temperature inside. It also creates a layer of moving air between the canopy and the tent, which helps carry away heat and moisture. Many manufacturers offer optional awnings or canopies that fit specific tent models. For family camping or overnight group use, a simple tarp pitched above the tent can make the difference between a stuffy afternoon rest and a comfortable one. This is especially relevant for summer camping and fixed camps where the tent stays up for multiple days.
Active Airflow: Fans and Simple Tricks
When natural wind is not enough, a small battery-powered fan can be the best tool. The question is whether to blow air into the tent or pull air out. In practice, the best approach is to place the fan near the lower inlet, blowing fresh air into the tent, while leaving the top vent open as an exhaust. This pushes humid air out through the highest point. If you place the fan in the top vent with the same direction, it will blow cool air downward but reduce the volume of exhausted humid air. Another simple trick is to point the fan at the condensation-prone surfaces, especially the walls near the sleeping bags, to keep them dry. Always use fans with long battery life or a large-capacity power bank. For B2B buyers, this is also a reason to consider tents with internal loops or clips for hanging a fan.
Evaporative cooling can also be useful in hot and dry weather. Hanging a damp cloth near one of the openings creates a small wet-bulb effect that lowers the air temperature slightly. Do not overdo this in cold conditions, however, because it adds moisture to the tent and increases condensation risk.
What This Means When You Buy or Spec Out a Tent
Ventilation efficiency is influenced by the tent’s design, not just how you set it up. When evaluating tents for a product line or a personal purchase, look for a double-layer construction, a protected top vent with a rain fly, and a high mesh-to-fabric ratio. A larger mesh area allows air movement without insect intrusion. A double-layer outer shell creates an insulated space that reduces condensation. Also, consider the height of the tent and the position of the vents. A low tent with all vents at ground level will experience less natural airflow than a taller tent with a high ridge vent.
We have seen these features in practical use on several tent types. For example, a double-layer automatic popup tent is a good candidate for campers who want fast setup and better airflow.
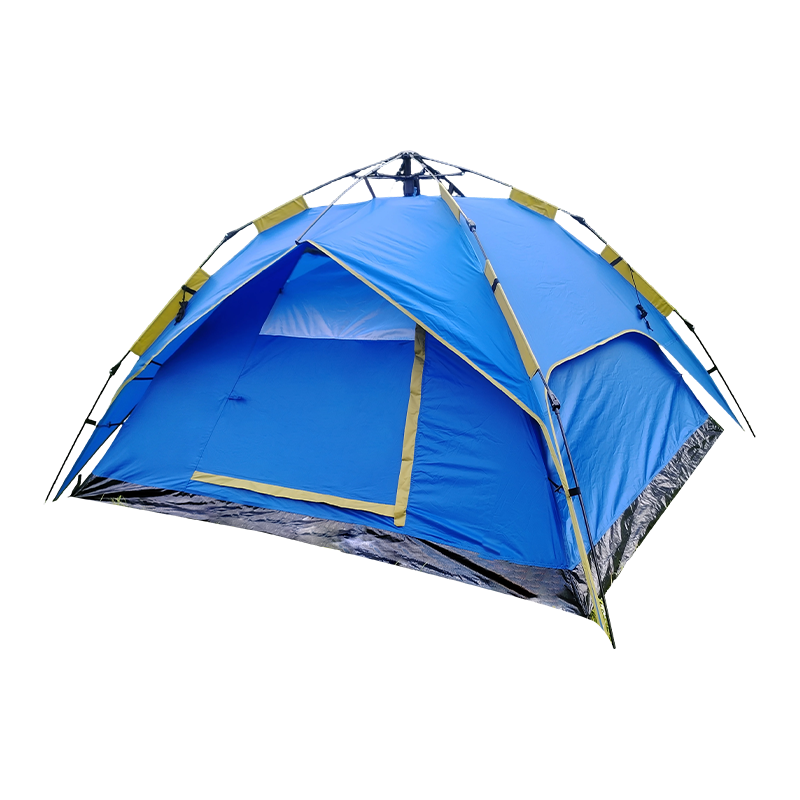 Double-Layer Automatic Pop-Up Tent for Quick Setup and VentilationThis double-layer automatic tent offers fast setup with fiberglass poles and a practical 210 × 210 × 130 cm size. Its dual-layer structure and PU2000 coating ensure comfort and rain protection, making it a solid choice for campers prioritizing ease and airflow.View Product →
If the group is larger, a family automatic camping tent with mesh windows gives multiple openings to manage airflow.
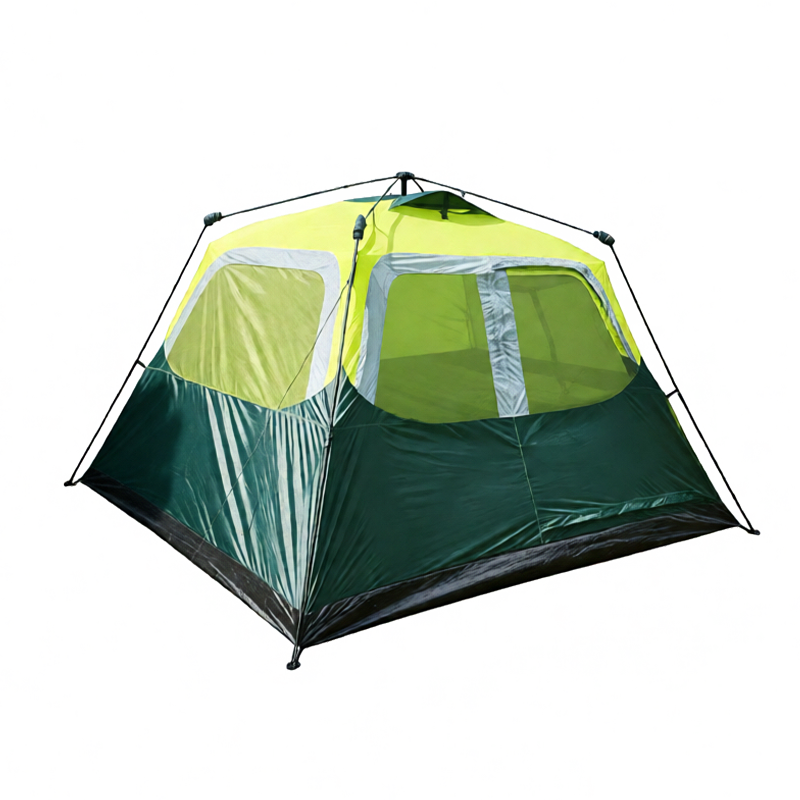 Spacious Automatic Camping Tent with Mesh Windows for GroupsAvailable in sizes for 4 to 8 people, this automatic tent features B3 mesh windows for excellent airflow and insect protection. With a PU1500 waterproof coating and sturdy frame, it suits family trips needing quick, ventilated shelter.View Product →
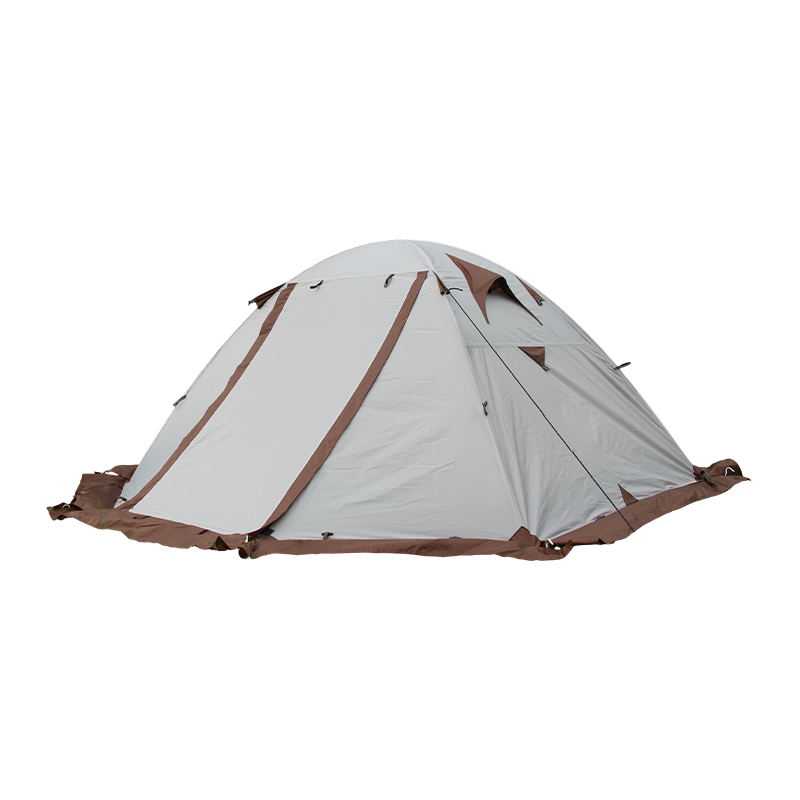
For lightweight hikers, a single-person double-layer hiking tent offers a compact solution with a separate mesh canopy and outer shell.
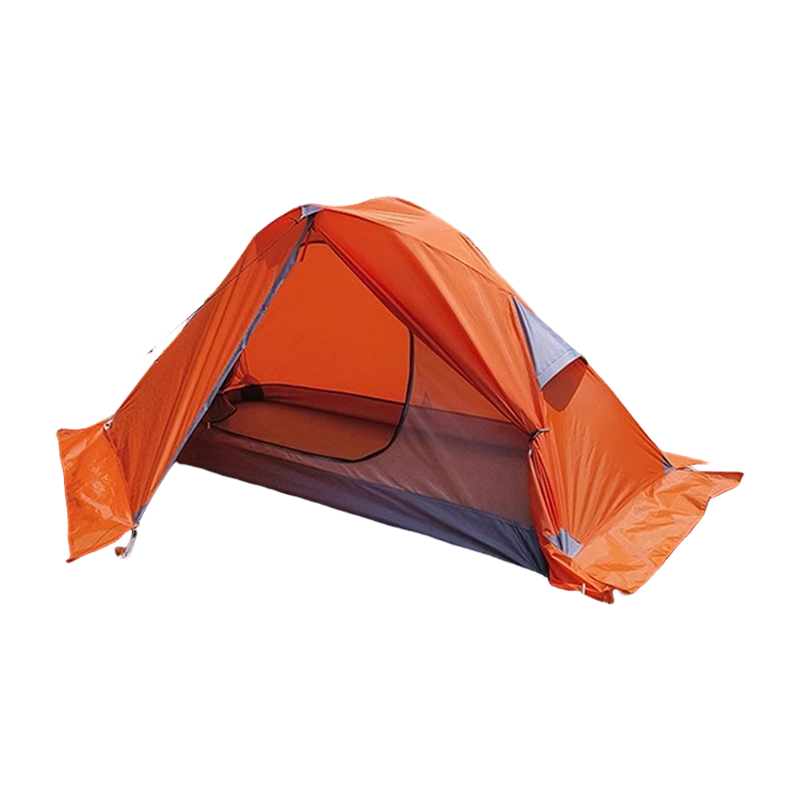 Lightweight Double-Layer Hiking Tent for Solo AdventurersDesigned for solo hikers, this compact tent unfolds to about 210×90×100 cm. Its 210T polyester outer with PU3000 coating and B3 mesh inner deliver weatherproof breathability, while 7001 aluminum poles keep it stable and light for backpacking.View Product →
Here is a short checklist for evaluating a tent’s ventilation potential:
- Look for a continuous mesh canopy with a separate rain fly.
- Check that the top vent has a waterproof flap and a stiffener to keep it open.
- Confirm that the door can be zipped open from both ends and tied back.
- Assess the location of ground vents and whether they can be covered when needed.
- Consider the fabric’s breathability rating, often indicated by a g/m² value.
When you are comparing designs, ask about the vent flap’s protect-aid against rain and the location of any tie-back loops. The best ventilation products let you open and close openings easily from inside the tent without reaching outside in bad weather. Many outdoor brands are now asking how to choose the right camping tent for family camping trips, because ventilation requirements change with family size and season. That guide covers these selection criteria in more detail.
Conclusion
Ventilation is not an afterthought. It is a practical decision that starts with tent selection, continues with site choice, and depends on your daily opening and closing habits. To keep condensation away, create a clear exhaust route through the top vent and a fresh air inlet near the ground. In hot weather, add a canopy to block direct sun. In cold weather, accept a small amount of ventilation to protect your sleeping system. If you are a procurement manager or product developer, those features are also the ones you will want to verify on sample tents. Good ventilation turns a camping tent from a simple shelter into a reliable tool for outdoor comfort.
-
18 Sep, 2026
You unzip the tent, and the smell hits you first: damp earth, condensation, and the faint sour note of a storm that passed two nights ago. A tent that has been...READ MORE
-
27 Aug, 2026
A buyer once showed us two lightweight hiking tents with the same floor space. One weighed 1.6 kg and the other 2.4 kg. Both had a rain fly and two doors. One ...READ MORE
-
11 Sep, 2026
At a Saturday farmers market, two coffee stalls stand forty meters apart. One operates under a plain grey canopy. The other has its name, its brand colors and ...READ MORE
-
02 Apr, 2026
Understanding Your Family’s Camping Needs Choosing the right camping tent starts with a clear understanding of your family’s actual needs. Many buyers make the ...READ MORE
-
03 Sep, 2026
Two beach tents can look identical in a supplier's catalog and still behave nothing alike after three weekends on a windy shoreline. The cheaper one sags becau...READ MORE
-
13 Aug, 2026
What An Inflatable Tent Is And How It Holds Its Shape An inflatable tent replaces traditional metal or fiberglass frames with an air-supported structure, using...READ MORE

-
+86-15867893553
- km@kaima-outdoor.com
- 6th Floor, Building 8, Wanyang Innovation City, Baifeng Street, Beilun District, Ningbo City, Zhejiang Province, China.
Copyright © Ningbo Kaima Outdoor Products Co., Ltd.All Rights Reserved.
 Custom Outdoor Lightweight/Packable Tent Manufacturers
