


 English
 Español
 русский
 Deutsch
 عربى
عربى
How to Pick a Tent: A Practical Buying Guide for Campers, Hikers, and Backpackers
Content
- 1 Start With the Trip, Not the Tent
- 2 Sleep Capacity: Read the Numbers Honestly
- 3 Match the Setup Style to Your Patience
- 4 Fabric, Coatings and the Weather You Expect
- 5 Weight and Packed Size: The Numbers You Will Feel
- 6 Ventilation and Condensation
- 7 A Short Checklist Before You Buy
- 8 Mistakes We See Most Often
- 9 A Note From the People Who Make Them
Choosing a tent looks simple until you are standing in front of thirty of them. Two-person or four-person, pop-up or pole, silnylon or polyester. After more than twenty years of designing and manufacturing tents in Ningbo, we still hear the same questions from first-time campers and experienced backpackers, so here is the order in which we would make the decision ourselves.
There is no single best tent. There is only the tent that suits your trip, your body and the weather you are likely to meet.
Start With the Trip, Not the Tent
Specifications only become useful once you know how the tent will be used. Answer four questions before you compare anything.
- Where will you sleep? A campground with a car ten metres away is a different problem from a windy ridge two days from the trailhead.
- How many nights a year, and in which season? Two summer weekends ask far less of a tent than a fortnight of shoulder-season camping.
- Will you carry it? Anything on your back changes the balance between weight, space and price.
- Who is sleeping inside? Adults, children and dogs need different floor space, and wet gear needs a porch.
Write the answers down. They usually remove half the market before you reach a product page.
Sleep Capacity: Read the Numbers Honestly
Sleeping capacity is the most optimistic figure on any tent label. A three-person tent normally fits three sleeping mats edge to edge, leaving no room for a bag, a change of clothes or a dry place to sit out a shower.
Our rule: count the people, then count the mats and the bags. If the weather might keep you inside for a day, buy one size up. Families feel this most, since a tent that sleeps five comfortably is usually sold as a six-person model.
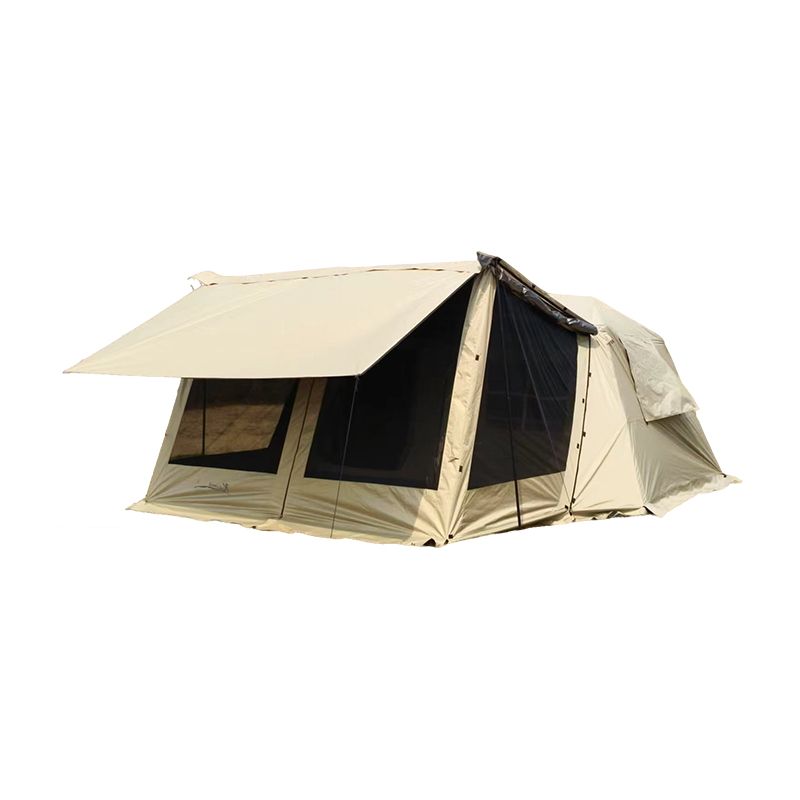
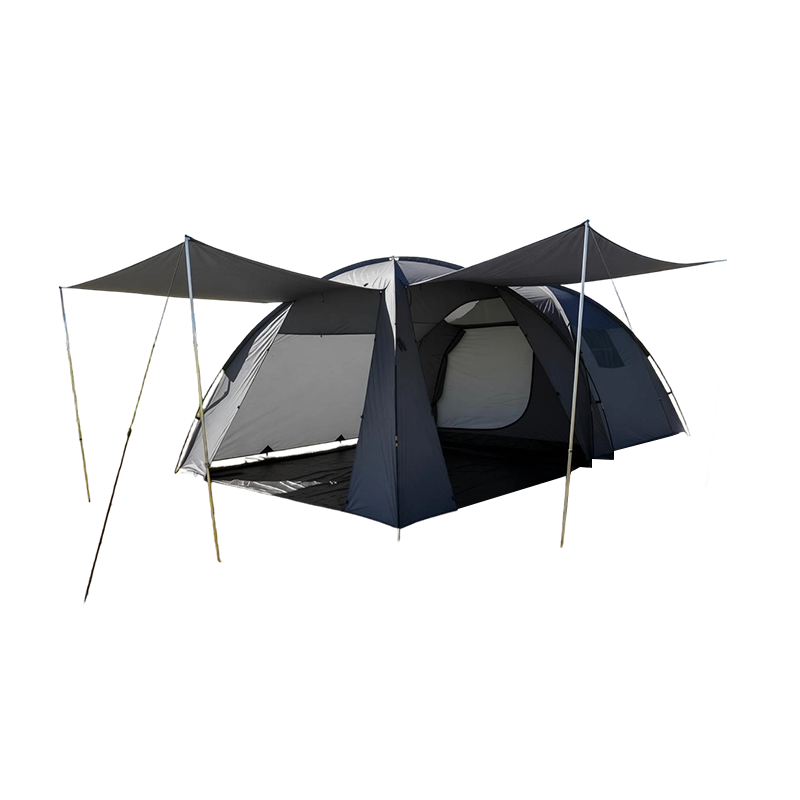 5-6 Person Family Waterproof Double-Layer Camping TentFor families comparing five- to six-person shelters, this double-layer tent pairs a room-and-hall layout with waterproof fabrics and fiberglass poles.View Product →
Match the Setup Style to Your Patience
How a tent goes up matters more than most buyers expect, especially after a long drive. There are three broad approaches, each with a trade-off. We have written separately about what actually makes a tent easy to set up.
Automatic and Pop-Up Frames
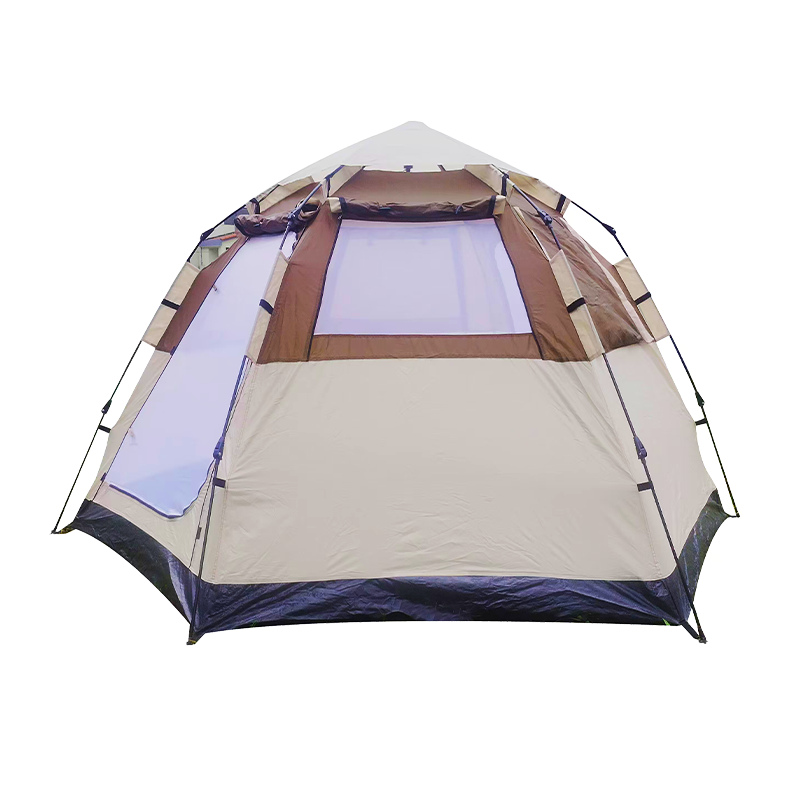
Pre-bent poles and a self-erecting hub mean the tent stands in a minute or two, with no threading and no guessing. They suit weekend campers, families and anyone pitching in the dark. The trade-off is a bulkier packed bundle.
Inflatable Air Beams
Air beams replace metal poles completely, so there is nothing to assemble. The structure is stable in wind and comfortable for long stays, but you need a pump and should check the valves before every trip.
Pole-and-Sleeve and Trekking-Pole Shelters
Classic domes and tunnels remain the lightest, most packable option, and trekking-pole designs go further still. They ask for a little practice and repay it with lower weight on the trail.
| Tent style | Typical setup time | Best suited to | Main trade-off |
|---|---|---|---|
| Automatic or pop-up | 1 to 3 minutes | Weekend and family camping | Bulkier packed size |
| Inflatable air beam | 3 to 5 minutes with a pump | Family and group camping, long stays | Pump and valve care |
| Pole and sleeve dome or tunnel | 5 to 10 minutes | All-round camping in mixed weather | More weight and parts |
| Lightweight trekking-pole shelter | 3 to 6 minutes | Backpacking and long-distance hiking | Less living space |
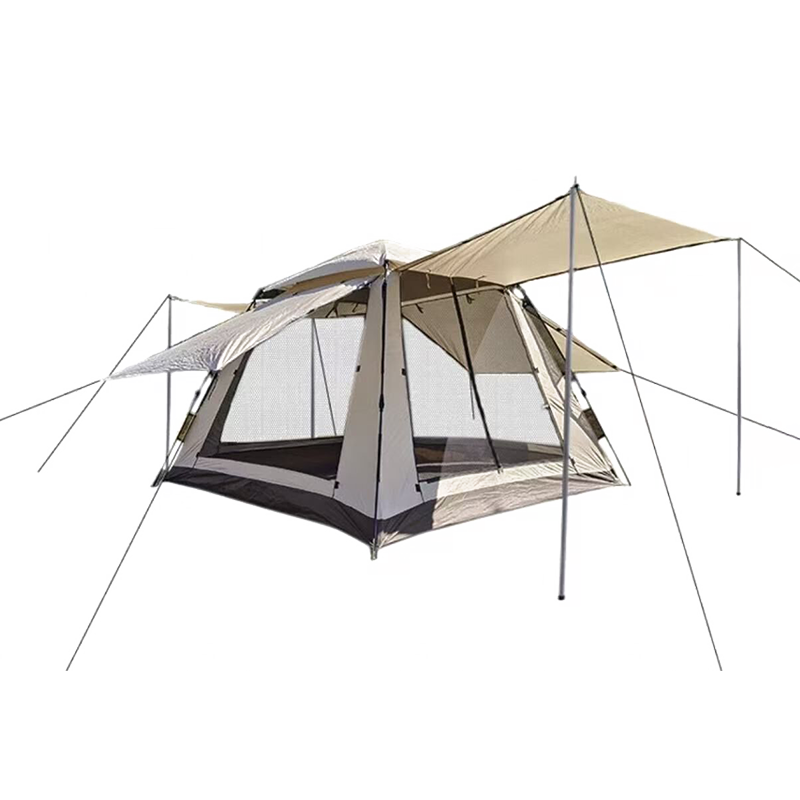
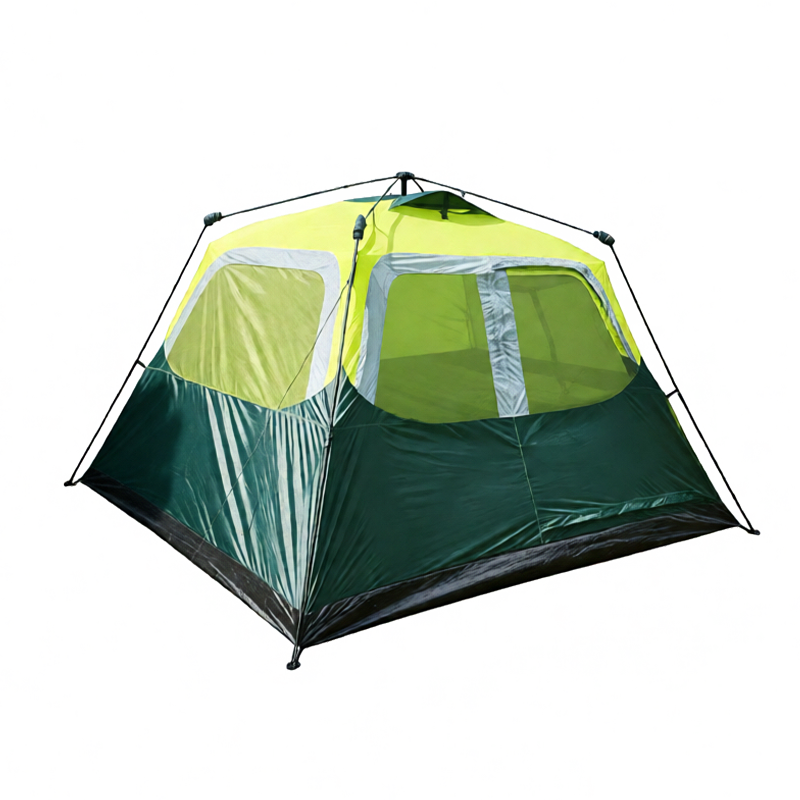 4–8 Person Automatic Camping Tent with Mesh WindowsFor group camping where quick setup and airflow matter, this automatic tent offers multiple sizes, B3 mesh windows, and PU1500 waterproof Oxford fabric.View Product →
Fabric, Coatings and the Weather You Expect
Fabric is where a tent earns its price, and a few numbers are worth understanding before you buy.
- Hydrostatic head measures the water pressure a fabric resists, in millimetres. Around 1,500 mm handles light rain, 3,000 mm copes with steady rain, and 5,000 mm and above suits exposed, multi-day weather.
- Coatings matter too. Polyurethane coatings keep rain out, while titanium blackout coatings block light and reduce heat inside, which helps on sunny beach days.
- Denier and weave set the balance. 150D oxford is tough and heavier, while 20D silnylon is light and compact but needs gentler handling.
- Seams and floors decide more dry nights than an extra coating, so look for taped or sealed seams and a bathtub floor.
Match the fabric to the trip rather than the brochure. Lighter specifications are fine for mild summer camping; wet, windy or sun-blasted trips justify spending more on the shell.
Weight and Packed Size: The Numbers You Will Feel
Weight matters for exactly as long as you are carrying the tent, and then it matters a great deal. A useful starting point is under about 1.5 kg for solo backpacking and under 2.5 kg for two people sharing the load, poles and pegs included.
Packed size deserves the same attention. A tent that will not fit horizontally in your pack has to stand vertically and steal space from everything else, which is why 20D silicon-coated nylon and ripstop fabrics are so popular.
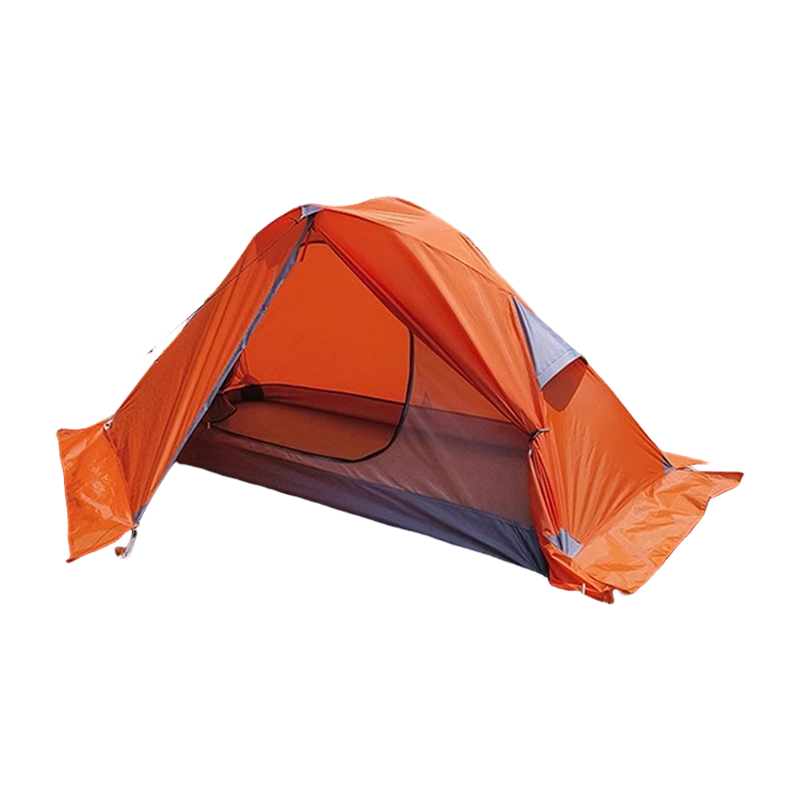 Single-Person Lightweight Double-Layer Hiking and Backpacking TentFor solo backpackers, this double-layer tent uses PU-coated waterproof fabrics, B3 mesh ventilation, and 7001 aluminum poles for a portable one-person shelter.View Product →
Ventilation and Condensation
Most wet nights inside a tent are caused by the people sleeping in it rather than by the rain. Every sleeper releases moisture with each breath, and if it cannot escape, it collects on the inner walls and drips.
- Two doors and generous mesh panels keep air moving, even on still nights.
- A double-layer design puts condensation on the fly instead of above your sleeping bag.
- Ground-level vents help in cold weather, when the mesh has to stay closed.
- Pitch with a gap between the inner tent and the fly, and try not to touch the walls while you sleep.
A Short Checklist Before You Buy
- Confirm capacity against your sleeping mats, not just your headcount.
- Check the hydrostatic head of the fly and the floor separately.
- Weigh the packed tent with poles and pegs, and decide whether you will be happy carrying it.
- Compare packed length and width with your backpack or car boot.
- Count doors, vents and pockets, and picture your group moving around inside.
- Check that poles or air beams can be repaired, and whether a repair kit is included.
- Pitch it once at home, so the first attempt is not in the rain.
Mistakes We See Most Often
- Buying for the best-case weather and then meeting the worst.
- Choosing the lightest tent available and discovering it is too small to live in.
- Ignoring the floor, which takes more punishment than any other part.
- Relying on a single-layer design in cold, humid conditions.
- Packing the tent away wet, which shortens its life faster than any amount of use.
A Note From the People Who Make Them
We build tents for brands, importers and retailers, so we spend our working days on the details in this guide: fabric testing, pole strength, seam sealing and the layout decisions that make a tent feel roomy or cramped. That experience shapes what we design, but it does not change the advice. Buy for the trip you actually take, size honestly, and pay for the fabric and the floor.
If you would like to see how those ideas look in production, you can explore the tents we manufacture. Otherwise, use this guide to choose well, whoever ends up making the tent you buy.
-
25 Sep, 2026
Two in the morning. The tent walls are beaded with moisture, the sleeping bag feels damp, and the air inside is stale. This is a familiar scenario for campers ...READ MORE
-
27 Aug, 2026
A buyer once showed us two lightweight hiking tents with the same floor space. One weighed 1.6 kg and the other 2.4 kg. Both had a rain fly and two doors. One ...READ MORE
-
18 Sep, 2026
You unzip the tent, and the smell hits you first: damp earth, condensation, and the faint sour note of a storm that passed two nights ago. A tent that has been...READ MORE
-
11 Sep, 2026
At a Saturday farmers market, two coffee stalls stand forty meters apart. One operates under a plain grey canopy. The other has its name, its brand colors and ...READ MORE
-
02 Oct, 2026
A four-season tent is a specific piece of equipment, not a marketing upgrade. What keeps a shelter standing on an exposed ridge is not the label on the stuff s...READ MORE
-
02 Apr, 2026
Understanding Your Family’s Camping Needs Choosing the right camping tent starts with a clear understanding of your family’s actual needs. Many buyers make the ...READ MORE
-
+86-15867893553
- km@kaima-outdoor.com
- 6th Floor, Building 8, Wanyang Innovation City, Baifeng Street, Beilun District, Ningbo City, Zhejiang Province, China.
Copyright © Ningbo Kaima Outdoor Products Co., Ltd.All Rights Reserved.
 Custom Outdoor Lightweight/Packable Tent Manufacturers
