


 English
 Español
 русский
 Deutsch
 عربى
عربى
How to Clean a Tent Properly: Complete Care Guide for Camping, Hiking, and Outdoors
Content
- 1 Why Proper Cleaning Matters More Than You Think
- 2 Gather the Right Supplies Before You Start
- 3 How to Clean a Tent Step by Step
- 4 Drying the Tent Is Non-Negotiable
- 5 Restoring Waterproofing After a Deep Clean
- 6 Special Cases: Mold, Odors, and Beach Sand
- 7 How to Store the Tent After Cleaning
- 8 When It Is Time to Replace
You unzip the tent, and the smell hits you first: damp earth, condensation, and the faint sour note of a storm that passed two nights ago. A tent that has been through rain, mud, pine needles, and three nights of body heat never comes out of the bag the same way. If you have ever wondered whether to scrub it or replace it, the short answer is: clean it the right way and it will outlast several seasons.
Cleaning a tent is not a matter of throwing it in a washing machine. The fabric, coating, and seams all require a certain level of care. But the routine is also not complicated. With a few basic supplies and about an hour of hands-on work, you can turn a grimy, smelling shelter into clean, dry gear that is ready for the next trip.
Why Proper Cleaning Matters More Than You Think
Every tent has a finite lifespan, but the difference between a tent that lasts five years and one that fails in eighteen months often comes down to how it is cleaned after trips. Dirt particles act like sandpaper against the fabric. When you fold the tent with mud still on it, those abrasive grains grind against the polyurethane or silicone coating during storage. Over time, that is what causes pin-hole leaks long before the fabric actually wears out.
Moisture is the second threat. A tent folded while damp becomes a breeding ground for mold and mildew. Once mildew takes hold, it stains the fabric and breaks down the coating, and the smell can persist even after a good wash. The most obvious way a tent gets retired early is not a broken pole or a torn fly; it is mildew damage from improper drying.
Here is what happens when you skip proper cleaning:
- Dirt encrusted in the fabric creates tiny abrasions that become leaks.
- Soap residue left from improper washing attracts moisture and degrades coatings.
- Hot water loosens seam tape, causing the seams to fail.
- Zippers loaded with sand or salt stop working long before the fabric does.
Gather the Right Supplies Before You Start
Before you begin, assemble everything you need. Your goal is to clean the tent without stripping the waterproof coating or damaging the seams, so the supplies matter as much as the technique. Here is what a sensible tent-cleaning kit looks like.
| Supply | What to Look For | Why It Matters |
|---|---|---|
| Mild soap | Non-detergent, pH-neutral liquid soap | Detergents strip waterproof coatings |
| Water | Lukewarm, about 20 to 25 degrees Celsius | Hot water can damage seam tape |
| Tub or basin | Large enough for the tent loosely folded | Lets soap and water penetrate evenly |
| Sponge or cloth | Non-abrasive soft sponge or microfiber cloth | Abrasive materials wear away coatings |
| Soft brush | For zippers and mesh panels | Removes grit without tearing |
| Towels | Clean and lint-free | Absorbs excess water before drying |
How to Clean a Tent Step by Step
Step 1: Shake Out and Inspect
Take the tent outside and give it a firm shake. Open the doors and windows, and flip the rainfly over. Loose dirt, leaves, and pine needles fall out easily at this stage. Use a brush to gently loosen dried mud from the floor. Inspect the seams, corners, and zippers for damage before you start. If you find a small tear, patch it before washing, otherwise water will get inside the layers.
Step 2: Spot Clean Problem Areas
Fill a small bowl with lukewarm water and add a few drops of mild soap. Dip your sponge or cloth and work on the heavily soiled spots first: mud splatters, bird droppings, and tree sap. For tree sap, dab a little rubbing alcohol on the spot and let it sit for a minute, then wipe gently. Do not heavy scrub, because the coating under the fabric is much thinner than it looks.
Step 3: Hand Wash the Whole Tent
Fill a tub or large basin with lukewarm water and a small amount of soap. Place the tent loose inside, letting it soak for ten to fifteen minutes. This softens grime that has been pressed into the fabric. Then, use your sponge to wipe the entire surface. Work section by section, from the rainfly to the floor. Pay attention to the underside of the tent, where condensation and dirt accumulate. Avoid twisting or wringing the fabric; that distorts the shape and can weaken seams.
Step 4: Clean Zippers and Hardware
Close the zippers before washing them to keep the teeth aligned. Use a soft brush and a small amount of soapy water to clean along the zipper tracks. Rinse with clean water. After drying, apply a thin layer of zipper lubricant to keep the tracks smooth. Many tents meet an early end because zippers jam from sand and salt, not because the fly tears.
Step 5: Rinse Thoroughly
Rinse the tent at least twice with clean, lukewarm water. Any soap residue left in the fabric will attract moisture and may damage the coating over time. If you want to be thorough, set the tent up briefly and hose it down from a distance. A gentle spray plus shaking works better than a strong jet, which can force water into the seams.
Drying the Tent Is Non-Negotiable
On the scale of tent care, cleaning gets the attention, but drying decides the outcome. A tent that is packed damp will mildew within a few days, and mildew is practically impossible to remove completely. If you cannot set the tent up for drying, at least drape it over a clothesline or a large drying rack in the shade. Never leave it rolled up in a stuff sack.
Set the tent up in a shaded, ventilated area. Direct sunlight can weaken the coating over a full day, so choose the morning or late afternoon light. Use a fan inside the tent to circulate air. Wipe the interior with a dry towel. Let it hang until the fabric is completely dry, not just to the touch but all the way through. On high-humidity days, this may take eight to ten hours. Check the mesh and the pockets too, because moisture gathers there.
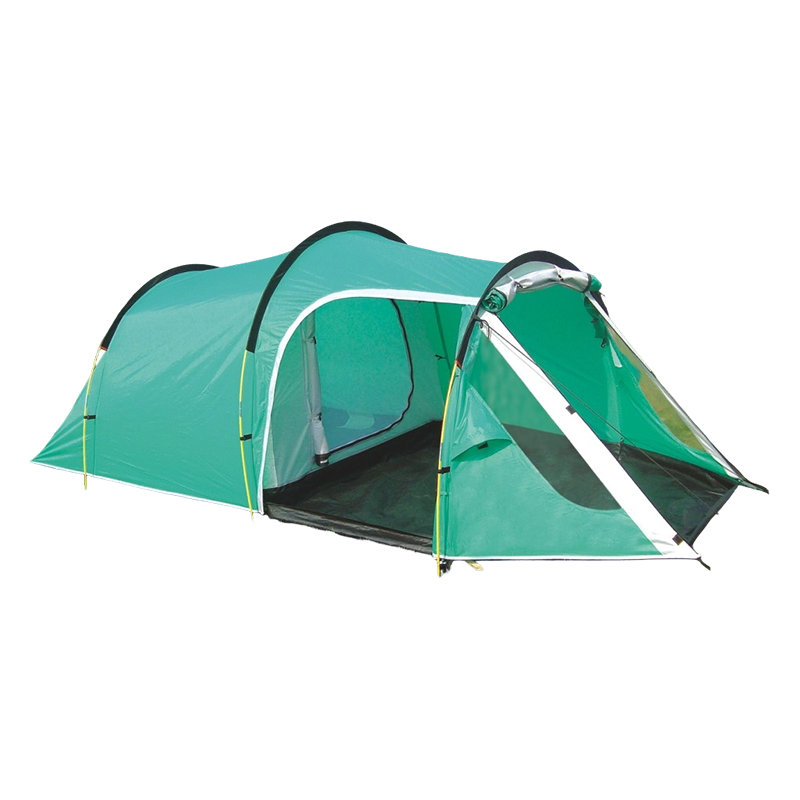
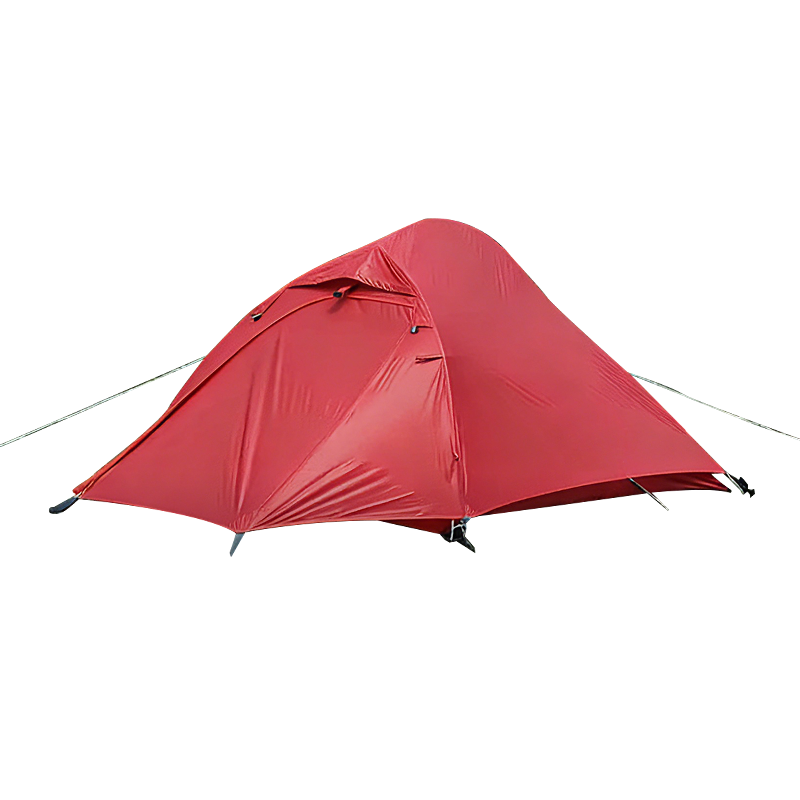 Lightweight 1-2 Person Silnylon Hiking Tent for BackpackingThis 20D silicone-coated nylon tent offers reliable waterproofing and breathable mesh, making it a practical choice for solo or pair camping trips and easy to care for during cleaning.View Product →
Restoring Waterproofing After a Deep Clean
Most camping tents come with a polyurethane (PU) coating or a silicone treatment on the rainfly. Washing can gradually reduce the water repellency, especially if you use too much soap or scrub aggressively. After the tent is dry, test the fly by sprinkling a little water on the surface. If the water beads and rolls off, the finish is intact. If it soaks in, the coating needs a refresh.
For PU-coated tents, use a water-based repellent designed for outdoor gear. Apply it while the tent is set up, following the instructions on the bottle. Turn the tent upside down and treat the underside as well. Never use fabric softener, bleach, or abrasive cleaners; they break down the polyurethane and the seam tape.
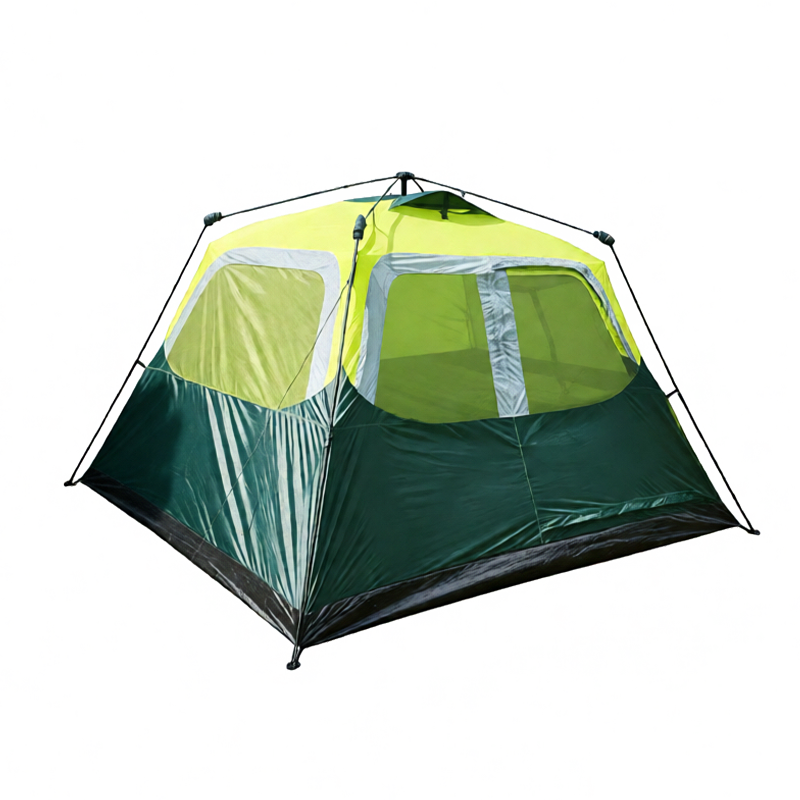
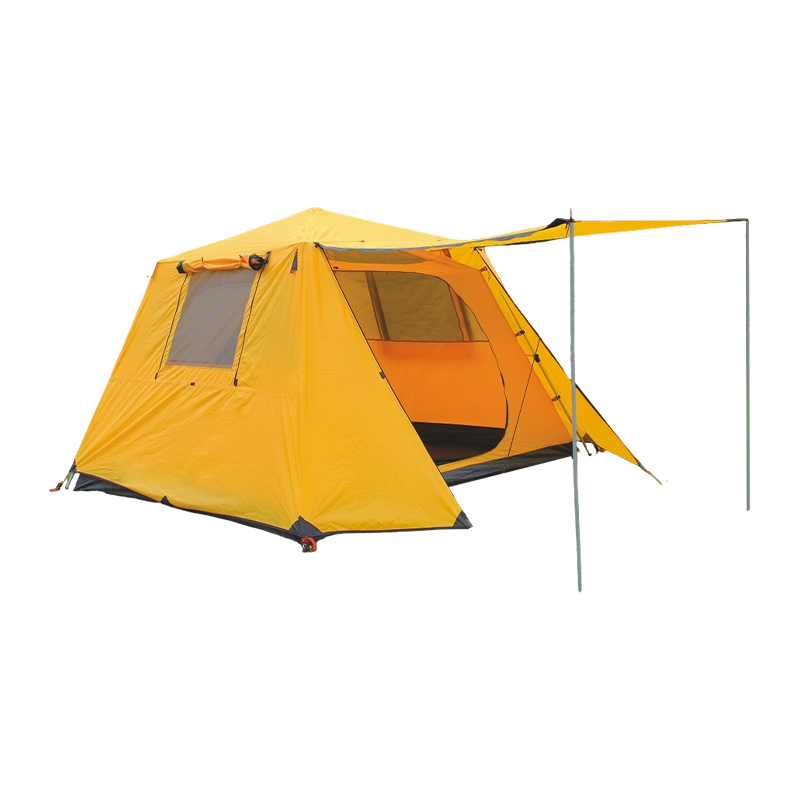
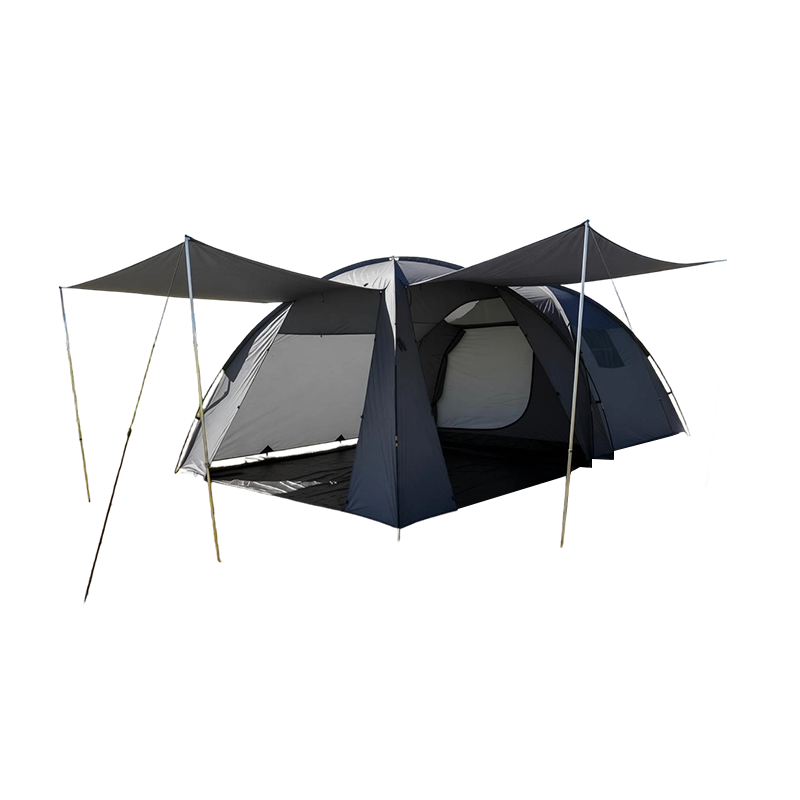 Spacious 5-6 Person Double-Layer Family Camping TentWith a roomy one-room, one-living-area layout and PU-coated waterproof shell, this tent suits family outings, and its fabric responds well to water-based repellent treatments.View Product →
Special Cases: Mold, Odors, and Beach Sand
Dealing with Mold and Mildew
If you find mold spots, try a solution of white vinegar and water, one part vinegar to four parts water, on the stains. An oxygen-based cleaner diluted in water also works, applied gently with a sponge. Rinse thoroughly afterward. Do not use chlorine bleach because it eats through nylon and polyester. Note that mold may leave permanent stains. The goal is to stop it from spreading and remove the smell.
Removing Odors
Body oils, cooking smell, and condensation create a sour odor inside the tent. A wash with mild soap usually handles this. For stubborn smells, add a cup of baking soda to the soak water. After rinsing, air-dry in a shaded, well-ventilated spot. If the smell persists, check the tent floor and the pockets, where moisture lingers easily.
Beach Sand and Salt
Beach sand is a double threat: it is abrasive and salt absorbs moisture. Shake the tent well at the beach before packing. When you clean it, rinse the zippers and floor especially carefully to remove salt crystals. Sand that remains inside zipper tracks will wear the teeth and eventually break them. If you camp frequently by the coast, clean the zippers after every trip.
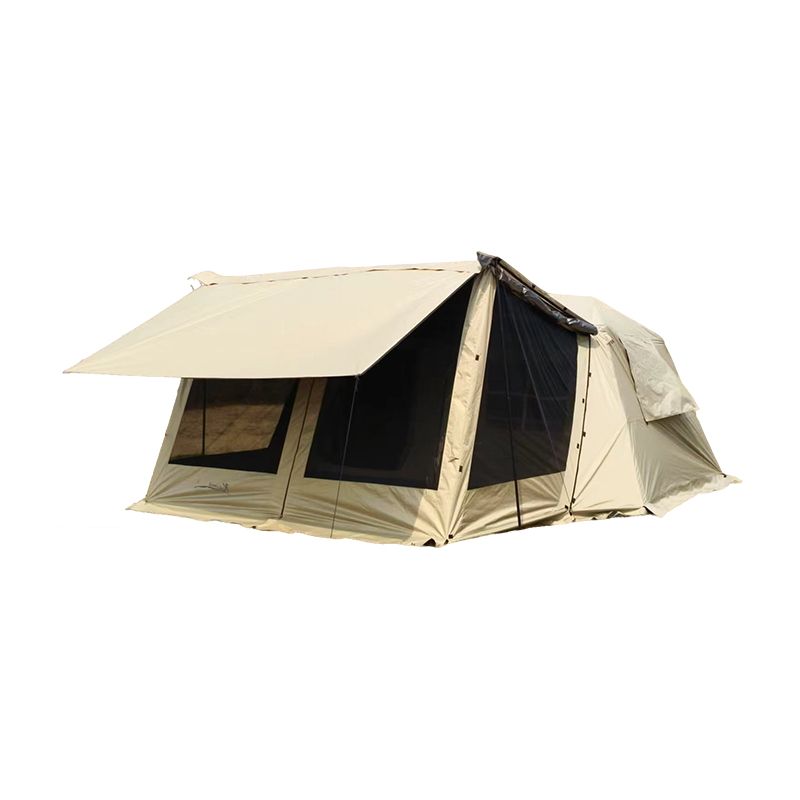
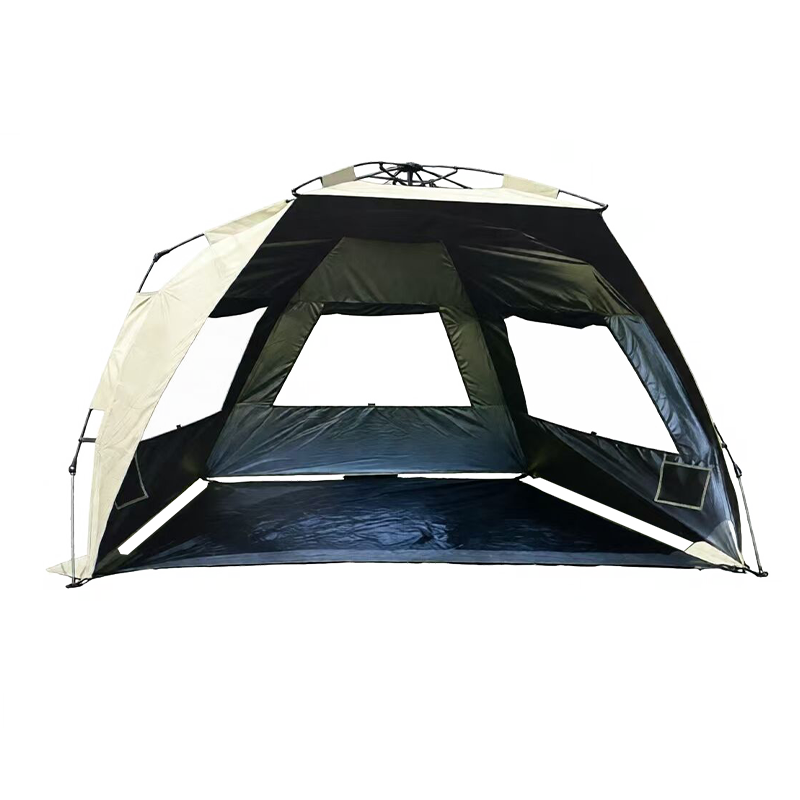 Quick-Setup Titanium Blackout Beach Tent with UV ProtectionIts PU5000-coated Oxford fabric blocks sun and rain, while the automatic frame simplifies setup; it's a sturdy shade option that also handles sand and salt well.View Product →
How to Store the Tent After Cleaning
After everything is dry, store your tent loosely rather than tightly rolled. If the tent comes with a stuff sack, make sure it is a breathable one, or keep the tent in a cotton bag or a large mesh bag so moisture can escape. Never store it in an airtight plastic container.
Fold the rainfly and the floor separately with the seams not pressed against each other. This prevents seam tape from sticking together. Keep the poles and stakes in their own bag so they do not poke holes in the fabric. Store the tent in a cool, dry place away from direct sunlight.
With the right storage routine, a tent that is cleaned and dried properly can stay in excellent condition for hundreds of nights, even if it sits in the garage all winter.
When It Is Time to Replace
Cleaning turns a neglected tent into a working one. However, there are limits. If the PU coating is flaking off and the fabric has become tacky, washing cannot restore it. If the seams have separated from the floor, that is a structural failure that one more wash cannot fix.
Look for these signs before you spend hours cleaning: pin-hole leaks across a large portion of the fly; zipper tracks that no longer engage; stretch marks and fraying at the corners; and a persistent musty smell even after cleaning. When these appear, replacement is more sensible than another deep clean.
If you decide to upgrade, spending ten minutes with a guide to choosing the right tent for family trips can save you from buying the same problems you just washed away. Meanwhile, the questions buyers are asking in 2026 make one thing clear: durability and repairability now rank as high as price.
The good news is that most tents on the market today, especially those built by factories with a rigorous quality-testing process, can last for years if they are cared for. Cleaning with the right supplies, drying thoroughly, and storing loosely is the whole secret. The cost of a single replacement is far higher than the fifteen minutes of care that protects it.
-
27 Aug, 2026
A buyer once showed us two lightweight hiking tents with the same floor space. One weighed 1.6 kg and the other 2.4 kg. Both had a rain fly and two doors. One ...READ MORE
-
11 Sep, 2026
At a Saturday farmers market, two coffee stalls stand forty meters apart. One operates under a plain grey canopy. The other has its name, its brand colors and ...READ MORE
-
02 Apr, 2026
Understanding Your Family’s Camping Needs Choosing the right camping tent starts with a clear understanding of your family’s actual needs. Many buyers make the ...READ MORE
-
18 Jun, 2026
A portable sun-safe shelter is more than a convenience item for a day at the beach. It is a practical, evidence-backed layer of ultraviolet protection that ad...READ MORE
-
03 Sep, 2026
Two beach tents can look identical in a supplier's catalog and still behave nothing alike after three weekends on a windy shoreline. The cheaper one sags becau...READ MORE
-
13 Aug, 2026
What An Inflatable Tent Is And How It Holds Its Shape An inflatable tent replaces traditional metal or fiberglass frames with an air-supported structure, using...READ MORE
-
+86-15867893553
- km@kaima-outdoor.com
- 6th Floor, Building 8, Wanyang Innovation City, Baifeng Street, Beilun District, Ningbo City, Zhejiang Province, China.
Copyright © Ningbo Kaima Outdoor Products Co., Ltd.All Rights Reserved.
 Custom Outdoor Lightweight/Packable Tent Manufacturers
